
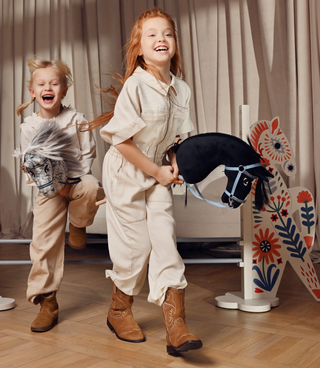
A fun hobby horse course does not need a large field or a long row of high poles. Two well-placed obstacles can create several routes when you change the direction, spacing and tasks between them. The most important ingredients are level ground, a clear sequence and enough room to approach, land and stop.
This guide gives you a flexible framework for a bedroom, playroom, garden or prepared activity area. Adjust every stage to the rider and the space rather than copying competition distances.
Prepare the area first
Walk through the entire space before placing equipment. Mark stairs, furniture, hard edges, holes, stones, slippery areas and low branches as out of bounds. Indoors, remove loose rugs and objects that could slide. Outdoors, choose an even surface and check it again after rain or strong wind.
Decide where the route begins and ends. The finish should not point towards a wall, fence, tree or another obstacle. Leave an easy way to walk around every jump so a rider can stop or skip an element without entering someone else's path.
There is no universal minimum course size. The number of obstacles must follow the available clear space, not the other way around.
Decide how many jumps to use
One jump is enough for approach and landing practice. Two jumps can form a straight line, a gentle turn or two separate stations. Three or four allow more varied patterns, including a curve, a wide figure eight or a course with a non-jumping task between poles.
Adding equipment too quickly can make the route hard to read. Begin with fewer elements and repeat the course in both directions. When the sequence feels obvious, add another station or change one task at a time.
If you are choosing the first set, see how to compare hobby horse jumps before planning a larger collection.
Build the route at ground level
First walk the proposed course without a hobby horse and with every pole at its lowest setting or placed aside. Check that turns feel natural and that no section requires sudden braking. Then complete a slow trial with the hobby horse before introducing jumps.
Number cards, lightweight markers or chalk on an appropriate surface can show the direction. Keep signs visible and rules short. During movement, a rider should be able to understand the next step at a glance.
Avoid crossing routes when more than one participant is present. A simple one-way system and a clear waiting point make taking turns easier.
Use three levels of difficulty
Instead of rebuilding the whole course, prepare three versions of the same route.
Level one: learn the sequence
Keep poles very low. Walk or move slowly through the route, focusing on direction, wide turns and a controlled stop at the finish. A non-jumping station can ask the rider to pause, name the next obstacle or walk around a marker.
Level two: connect the movements
Use a comfortable jumping height and complete two obstacles in sequence. The goal is an even approach and enough control to continue after landing. Change the direction before increasing any pole.
Level three: add one challenge
Raise one obstacle by a single adjustment step, add a wider turn or introduce a simple memory task. Do not change height, speed and route complexity at the same time. One clear difference makes it easier to see whether the challenge is appropriate.
For Nilchi obstacles, the pole adjusts from 20 to 90 cm in 10 cm steps. Those settings provide options, but progress should still follow movement quality. Our guide to hobby horse jump height explains the signs to watch.
Try this simple two-jump course
Set the start at one end of the clear area. Place the first jump on a straight approach. After landing, guide the route around a wide marker and towards the second jump from a gentle angle. Finish with a straight section and a marked stopping point.
Run the course slowly in the original direction, then swap directions. Next, keep the same layout and add one variation:
- carry a small ribbon to the finish;
- remember and call out the obstacle numbers;
- pause at the marker before continuing;
- complete one round without jumping, then one with low poles;
- choose a name for the course and design a start sign.
These changes create fresh play without demanding more space or greater height.
Reset and store the equipment
Check the jump after each round and put a knocked pole back only when the route is clear. Nilchi magnetic holders let the pole release and be reset quickly. Participants should still wait until the previous rider has left the course before moving any part.
At the end, count the pieces and store them in a consistent place. Keep the instructions with the equipment, especially when the set is moved between indoor and outdoor areas.
Explore the full collection of adjustable hobby horse jumps when you are ready to expand the course. A second design can create new routes, but good spacing and a readable sequence will always matter more than the number of obstacles.